Vivotek FD8134 Installation Guide
Browse online or download Installation Guide for Security cameras Vivotek FD8134. Vivotek FD8134 Installation guide User Manual
- Page / 13
- Table of contents
- BOOKMARKS
Summary of Contents
Quick Installation GuideEnglish繁中 日本語Español Português簡中FrançaisDeutschItalianoTürkçePolskiРусскийČesky SvenskaVIVOTEK INC.6F, No.192, Lien-Cheng Rd.,
EN - 9EnglishFor further setup, please refer to the user's manual on the software CD.Ready to Use 61. Access the Network Camera on the LAN.2. Ret
EN - 10Based on the live image retrieved from the camera, adjust the camera lens to the desired viewing angle:1. Turn the lens module left and right.
EN - 11English1. Align the inner side of the black cover with the notch on both sides of the lens, x the black cover.2. If you choose to the feed t
Quick Installation GuideEnglish繁中 日本語Español Português簡中FrançaisDeutschItalianoTürkçePolskiРусскийČesky SvenskaVIVOTEK INC.6F, No.192, Lien-Cheng Rd.,
EN - 1EnglishPower off the Network Camera as soon as smoke or unusual odors are detected.Contact your distributor in the event of occurrence.Keep the
EN - 2Do not place the Network Camera on unsteady surfaces.Do not touch the Network Camera during a lightning storm.Do not disassemble the Network Cam
EN - 3EnglishSoftware CDFD8133 or FD8134Alignment StickerDrill holeDrill holeCable holeRJ45 Female/Female Coupler / Screws / Clamp CorePower Adapter50
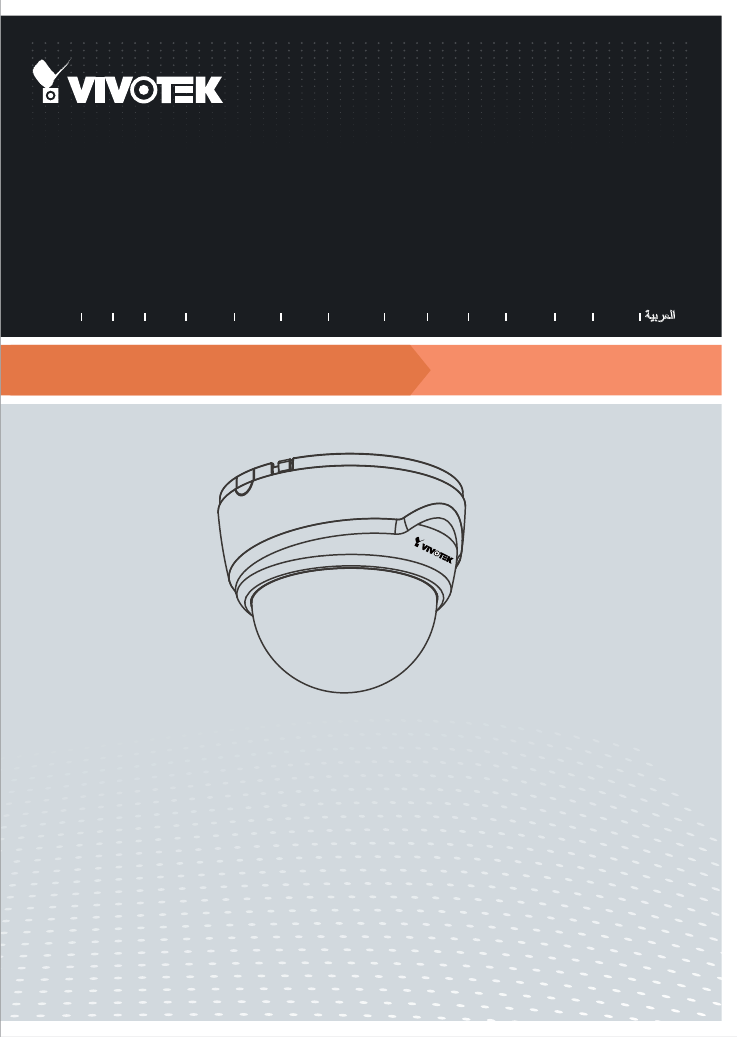
EN - 4First, follow the instructions below to remove the dome cover.Hardware Installation3Physical Description2Dome CoverLensIR LEDs (8 units, distanc
EN - 5EnglishAA1. Attach the alignment sticker to the ceilling/wall.2. Through the two circles on the sticker, drill two pilot holes into the ceilling
EN - 6General Connection (without PoE)Network Deployment4+ : Digital input- : Digital inputPOWERCOLLISIONLINKRECEIVEPARTITION1234523Ethernet Switch11
EN - 7EnglishPOWERCOLLISIONLINKRECEIVEPARTITION12345Power over Ethernet (PoE) (FD8134 only)POWERCOLLISIONLINKRECEIVEPARTITION12345PoE SwitchWhen using
EN - 8Network CameraModel No: FD8134Made in TaiwanThis device complies with part 15 of the FCC rules. Operation is subject to the following two condit
More documents for Security cameras Vivotek FD8134

Related products and manuals for Security cameras Vivotek FD8134
 (24 pages)
(227 pages)
(219 pages)
(44 pages)
(24 pages)
(227 pages)
(219 pages)
(44 pages)
 (91 pages) (10 pages)
(11 pages)
(91 pages) (10 pages)
(11 pages)
 (2 pages)
 (14 pages)
(146 pages)
(11 pages)
(11 pages)
(15 pages)
(61 pages)
(14 pages)
(146 pages)
(11 pages)
(11 pages)
(15 pages)
(61 pages)
© 2020, manymanuals.com. All rights reserved. | 0.695 s |
 Manymanuals.com
 Manymanuals.de
 Manymanuals.fr
 Manymanuals.it
 Manymanuals.pl
 Manymanuals.cz
 Manymanuals.es
 Manymanuals-pt.com
Comments to this Manuals