Vivotek FD8162 User Manual
Browse online or download User Manual for Security cameras Vivotek FD8162. Vivotek FD8162 User`s manual
- Page / 13
- Table of contents
- BOOKMARKS
Summary of Contents
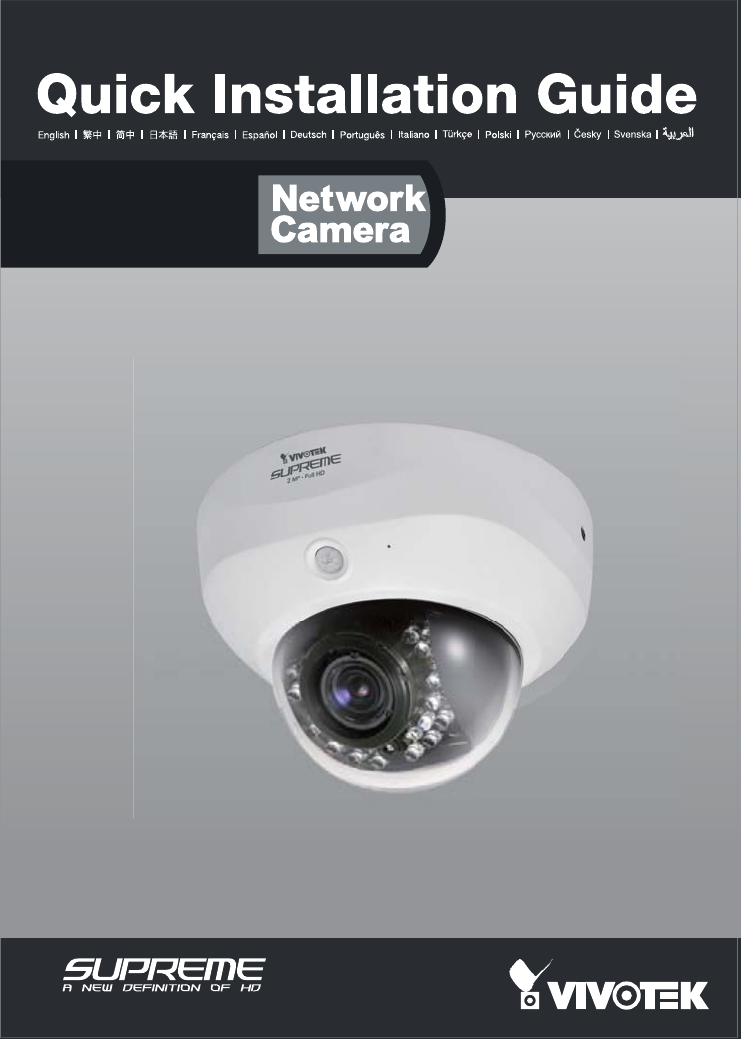
P/N:625014500G Ver.1.0 Copyright 2011 VIVOTEK INC. All rights reserved. cFD81622 MP • PIR • Focus Assist
EN - 9EnglishFor further setup, please refer to the user's manual on the software CD.Ready to Use 61. A browser session with the Network Camera s
EN - 10Based on the live image retrieved from the camera, adjust the camera lens to the desired view angle:1. Turn the lens module left and right.2. L
EN - 11English1. Align the notches on the inner side of the black cover with the rivets on the sides of the lens, and then x the black cover.2. If
EN - 1EnglishPower off the Network Camera as soon as smoke or unusual odors are detected.Contact your distributor in the event of occurrence.Keep the
EN - 2Do not place the Network Camera on unsteady surfaces.Do not touch the Network Camera during a lightning storm.Do not disassemble the Network Cam
EN - 3EnglishSoftware CDFD8162 Alignment StickerT10 Torx Screwdriver/ Screws / Plastic AnchorsPackage Contents1Quick Installation Guide / Warranty Car
EN - 4Physical Description2123 74 5 86EthernetMicro SD CardAudio InAV OutResetInt.NTSCPALExt.Camera Front ViewCamera Rear ViewLight SensorLensBuilt-in
EN - 5EnglishHardware Installation3Use the included T10 Torx screwdriver to loosen screws on the sides of dome cover to remove it. You should then jot
EN - 6General Connection (without PoE)Network Deployment4POWERCOLLISIONLINKRECEIVEPARTITION123451. If you have external DI devices, make the connectio
EN - 7EnglishPOWERCOLLISIONLINKRECEIVEPARTITION12345Power over Ethernet (PoE) POWERCOLLISIONLINKRECEIVEPARTITION12345When using a non-PoE switchUse a
EN - 80002D107258A1. Install “Installation Wizard 2” from the Software Utility directory on the software CD.2. The program will conduct an analysis of
Related products and manuals for Security cameras Vivotek FD8162
 (2 pages)
 (2 pages)
 (12 pages)
 (12 pages)
(128 pages)
(66 pages)
(157 pages)
(203 pages)
(12 pages)
(128 pages)
(66 pages)
(157 pages)
(203 pages)
© 2020, manymanuals.com. All rights reserved. | 0.518 s |
 Manymanuals.com
 Manymanuals.de
 Manymanuals.fr
 Manymanuals.it
 Manymanuals.pl
 Manymanuals.cz
 Manymanuals.es
 Manymanuals-pt.com
Comments to this Manuals