Vivotek FD8335H User Manual
Browse online or download User Manual for Security cameras Vivotek FD8335H. Vivotek FD8335H User`s manual
- Page / 14
- Table of contents
- BOOKMARKS
Summary of Contents
EN - 9EnglishPower over Ethernet (PoE)POWERCOLLISIONLINKRECEIVEPARTITION12345PoE SwitchWhen using a PoE-enabled switchThe Network Camera is PoE-compli
EN - 100002D1083236FD8335H 1. Install “Installation Wizard 2” from the Software Utility directory on the software CD.2. The program will conduct
EN - 11EnglishFor further setup, please refer to the user's manual on the software CD.Ready to Use 61. A browser session with the Network Camera
EN - 121. Install the black cover.2. Attach the dome cover to the camera by combining it to the retainer and aligning with the mounting holes.3. Secur
EN - 1EnglishPower off the Network Camera as soon as smoke or unusual odors are detected.Contact your distributor in the event of occurrence.Refer to
EN - 2Software CDFD8335HQuick Installation Guide / Warranty CardAlignment Sticker / Ceiling Hole Template StickerMounting Plate510000221GPackage Cont
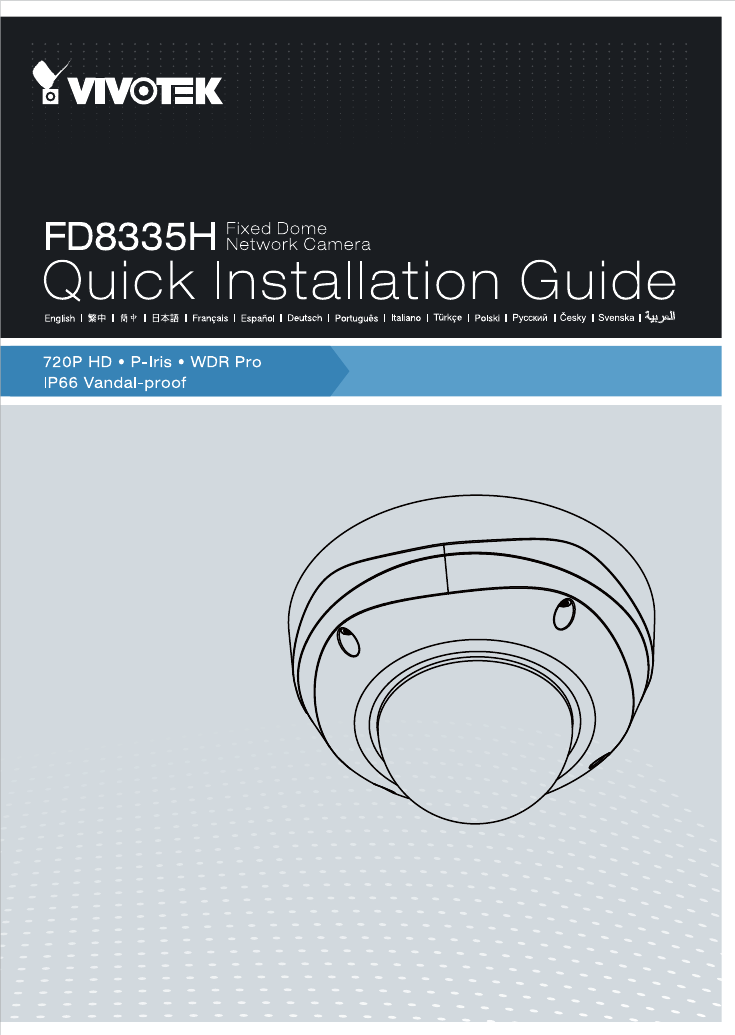
EN - 3EnglishIR LEDs (18 units, effective up to 15m)Physical Description2Inner ViewLensTilt Adjustment ScrewBlack Cover1. There is no internal microph
EN - 4First, use the included T20 hex key wrench to loose the four screws and detach the dome cover from the camera base. Follow the steps below to in
EN - 5EnglishConnect power lines and if you have external devices such as sensors and alarms, make the connection from the general I/O terminal block.
EN - 612RJ45 Cable Dimension (unit: mm)2. Strip part of the sheath from the Ethernet cable.1. Drill a hole on the rubber seal plug and insert an Ether
EN - 7English123A4B5Wall mount1. Attach the supplied alignment sticker to the wall.2. Using the circle marks on the sticker, drill at least 2 pilot ho
EN - 8POWERCOLLISIONLINKRECEIVEPARTITION12345Network Deployment41. Connect RJ45 Ethernet cable to a switch. Use a Category 5 Cross Cable when your n
Related products and manuals for Security cameras Vivotek FD8335H
 (11 pages)
(122 pages)
(159 pages)
(11 pages)
(122 pages)
(159 pages)

 (10 pages)
(88 pages)
(162 pages)
(14 pages)
(44 pages)
(53 pages)
(12 pages)
(12 pages)
(14 pages)
(10 pages)
(88 pages)
(162 pages)
(14 pages)
(44 pages)
(53 pages)
(12 pages)
(12 pages)
(14 pages)
© 2020, manymanuals.com. All rights reserved. | 0.593 s |
 Manymanuals.com
 Manymanuals.de
 Manymanuals.fr
 Manymanuals.it
 Manymanuals.pl
 Manymanuals.cz
 Manymanuals.es
 Manymanuals-pt.com
Comments to this Manuals